
How to Integrate the Linux Sudo Windows Port and PowerShell
Are you a systems and network administrator working with Windows-centric clients, servers, and networked services? If so, chances are you have already seen the popular Linux command line tool called Sudo. But how does the Linux Sudo Windows port work in PowerShell?
In this tutorial, you will learn how to install the Linux Sudo Windows port in PowerShell. Get yourself a powerful resource combining advantages for your daily operations.
Ready? Dive in to get the best of both worlds!
Prerequisites
This tutorial comprises hands-on demonstrations. Ensure you have the following in place to follow along:
- A Windows system with PowerShell installed – This tutorial uses Windows 10 with PowerShell 7 installed.
Related:PowerShell 7 Upgrade : A How to Walk Through
- Scoop and Git installed.
Related:How to Install and Use the Scoop Windows Package Manager
Installing the Linux Sudo Windows Port
In recent years, the power of Sudo, an essential open-source tool, has been ported to Windows. As a result, a more comprehensive suite of tools for everyday IT tasks has been created. But still, Sudo does not come installed with your Windows system by default.
To install Sudo for Windows, follow these steps:
1. Launch PowerShell, and execute the following scoop command to update Scoop.
This command ensures that Scoop, the package manager for Windows (like apt for Ubuntu), is up to date with the latest packages and dependencies.
Related: Learning Ubuntu Apt Get Through Examples
scoop update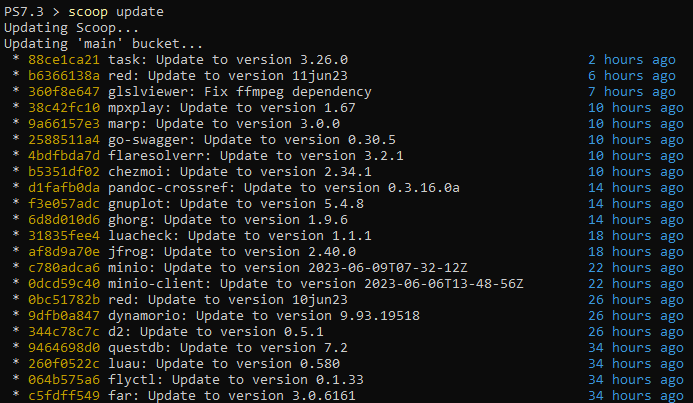
Updating Scoop
2. Once updated, run the below command to install sudo for Windows.
scoop install sudo
Installing Sudo for Windows
3. Lastly, run the sudo command below without arguments to verify the installation.
sudoThe output of the sudo usage statement below confirms that Sudo has been successfully installed.
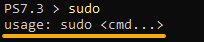
Verifying the Sudo installation
Elevating Privileges with Sudo in PowerShell
With Sudo installed on your Windows system, you can now use its functionality within your PowerShell scripts. Sudo comes in handy when executing commands requiring administrative privileges, but the shell currently runs with regular user privileges.
In such cases, you would need to restart PowerShell as administrator to proceed. But with Sudo, you can execute commands with elevated privileges without restarting the shell. This efficiency is similar to the functionality provided by the sudo command in Linux.
Related:Discover How to Run PowerShell as Administrator
To see how Sudo works in PowerShell, below are some examples that let you invoke a PowerShell command with administrator privileges:
1. Execute the following [Set-Content](https://learn.microsoft.com/en-us/powershell/module/microsoft.powershell.management/set-content) command as a regular user.
This command appends the content value of 127.0.0.1 localhost to the file called hosts2 in the C:\Windows\System32\drivers\etc directory.
Set-Content -Path C:\Windows\System32\drivers\etc\hosts2 -Value "127.0.0.1 localhost"Related:Set-Content: The PowerShell Way to Write to a File
Below, the command fails and gives out an “Access Denied” error. This error is expected since opening and editing the hosts2 file in C:\Windows\System32\drivers\etc requires administrator privileges.

Attempting to append a file content that required administrator privileges
2. Next, execute the same command below, but this time, as an administrator by appending sudo.
sudo Set-Content -Path C:\Windows\System32\drivers\etc\hosts2 -Value "127.0.0.1 localhost"Notice that the command provides no output, which indicates the execution is successful and the desired content has been appended to the hosts2 file without error.

Appending content to hosts2 file as an administrator (sudo)
3. Now, run the [Get-Content](https://learn.microsoft.com/en-us/powershell/module/microsoft.powershell.management/get-content) command below to view the content of the hosts2 file.
Get-Content -Path C:\Windows\System32\drivers\etc\hosts2Related:PowerShell Get-Content a PowerShell Tail Equivalent
You will see that the 127.0.0.1 localhost line was added to the hosts2 file, as shown below.
This output confirms that Sudo works as intended in elevating privileges when you run a PowerShell command.

Verifying the successful execution of the sudo command
Installing and Using gsudo as an Alternative to sudo
Enjoying sudo so far? In addition, an alternative to sudo called gsudo provides some advantages. For example, gsudo can detect your current shell and elevate privileges accordingly, treating commands as native shell commands.
This feature makes gsudo compatible with various shells, such as CMD, PowerShell, WSL, git-bash, and more. But like sudo, you must first install gsudo before you can use it to elevate privileges.
Related:Getting Started with Git Bash Commands on Windows
To install and use gsudo on Windows, follow the steps below:
1. Run the following command to sets the execution policy to RemoteSigned (if not already set).
This command ensures the TLS 1.2 protocol (Tls12) is used, downloads, and executes the gsudo installation script (installgsudo.ps1) from the specified URL.
PowerShell -Command "Set-ExecutionPolicy RemoteSigned -scope Process; [Net.ServicePointManager]::SecurityProtocol = 'Tls12'; iwr -useb https://raw.githubusercontent.com/gerardog/gsudo/master/installgsudo.ps1 | iex"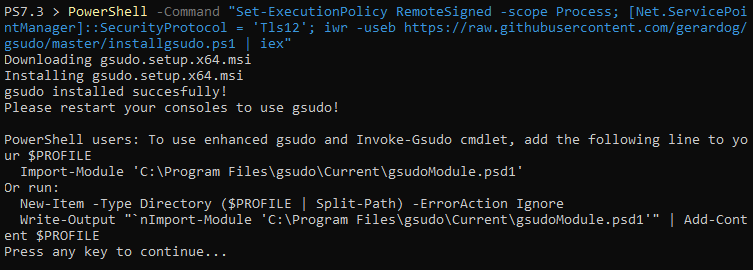
Installing gsudo on Windows
2. Next, execute the below gsudo command to check the version installed.
gsudo --versionThe output below confirms you have installed gsudo on your Windows system. At this point, you can already use gsudo as an alternative to sudo.
But still, you must test if gsudo works as intended (step three).

Checking the installed version of gsudo
3. Execute the command below to open the hosts2 file in notepad.
When you run the command, gsudo automatically detects your current shell and elevates the command accordingly.
gsudo notepad C:\Windows\System32\drivers\etc\hosts2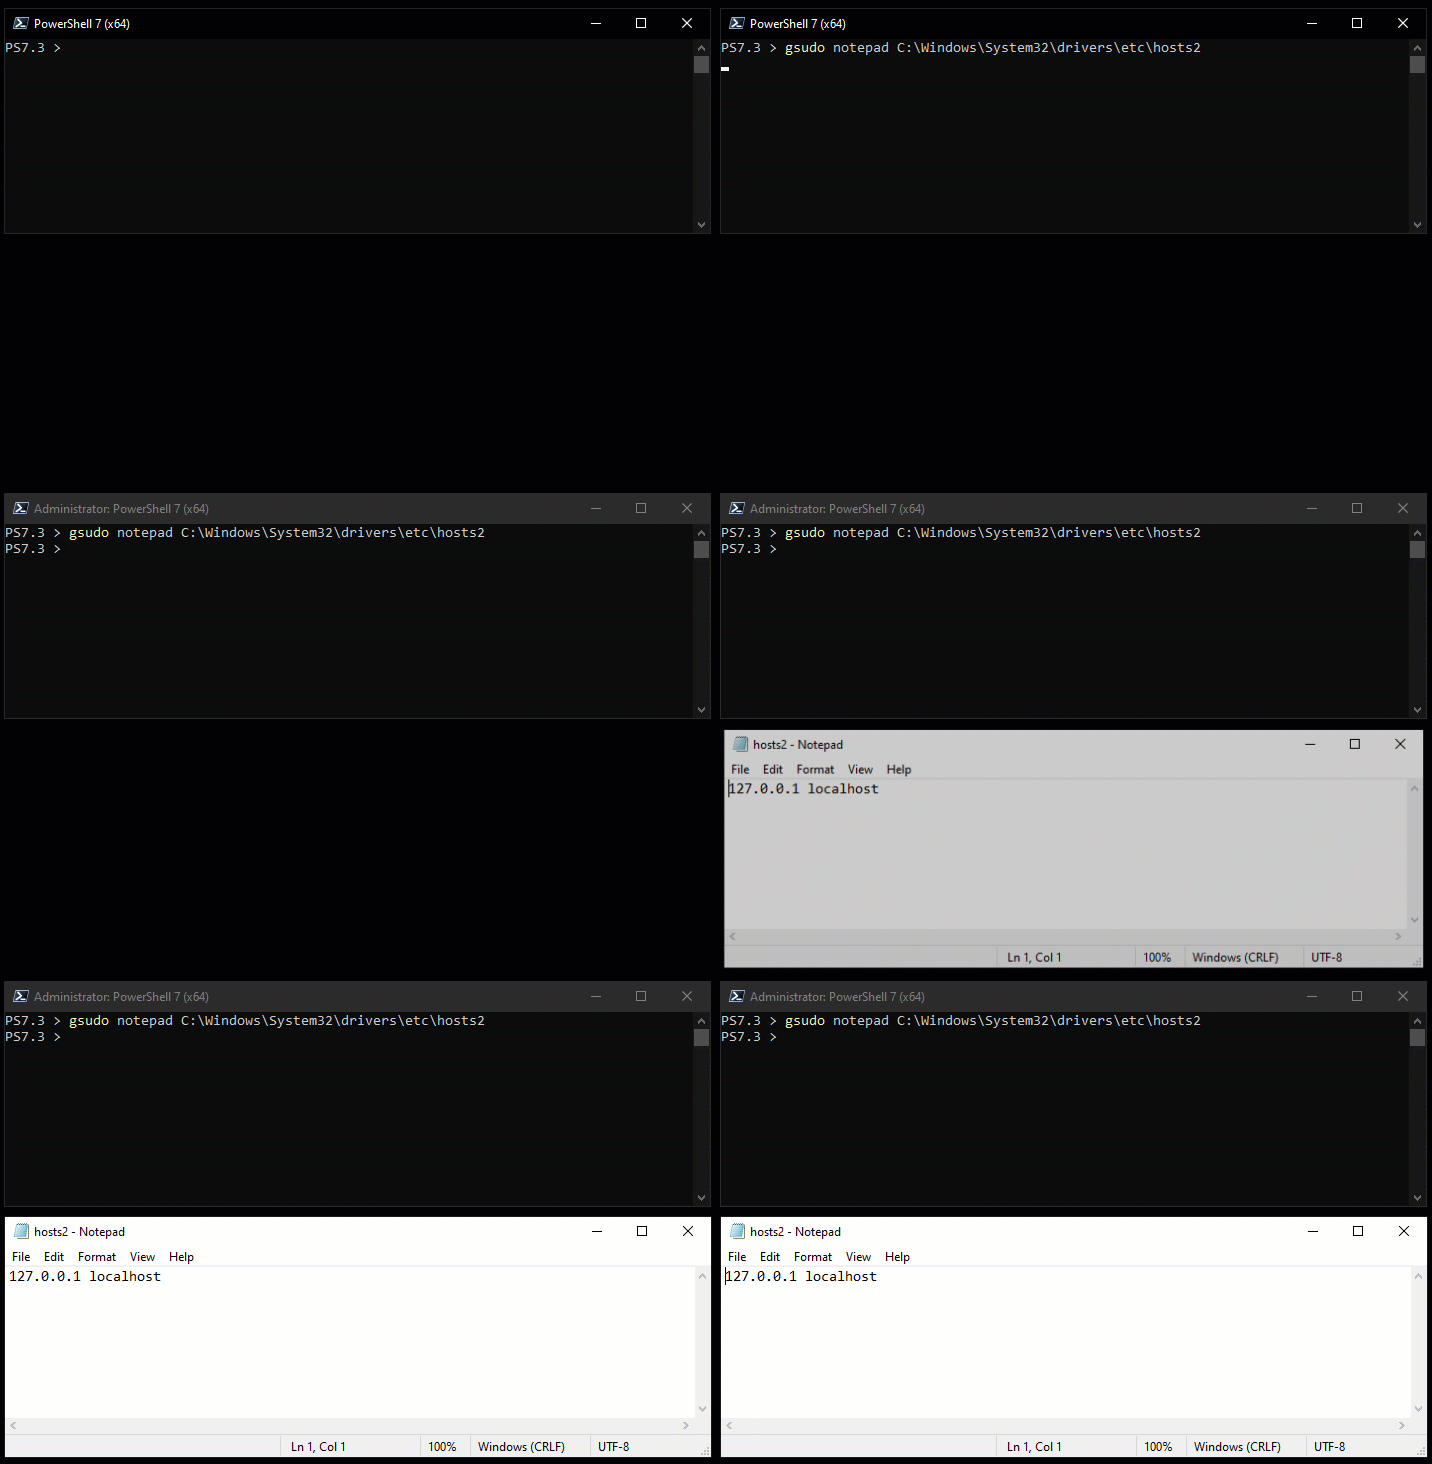
Using gsudo as an alternative to sudo
4. Lastly, edit the hosts2 file and save the changes.
If you open the file with elevated privileges, saving the changes goes smoothly, as shown below.
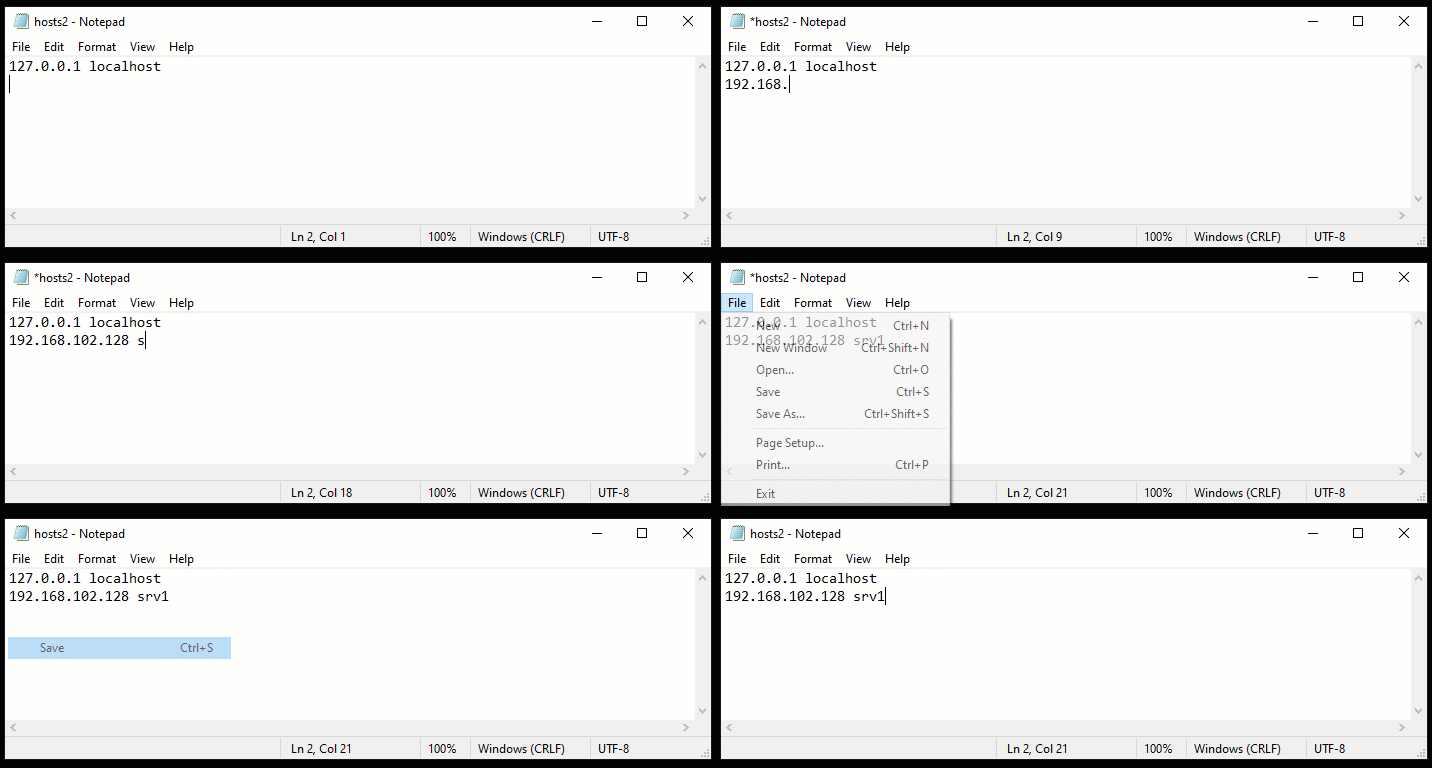
Saving changes to the hosts2 file
But without using gsudo to open the file, the following message pops up when you save the changes.
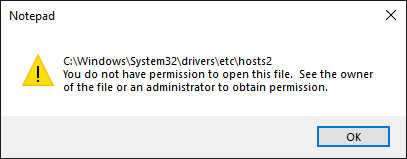
Saving the hosts2 file changes without elevated privileges
Conclusion
In this tutorial, you have learned to install and configure the Linux Sudo Windows port in PowerShell. With Sudo installed, you can now effortlessly execute administrative commands from your regular user shell, eliminating the need to restart as an administrator.
Besides sudo, you also learned to use gsudo as an alternative command that offers advanced features, such as automatic shell detection and treating commands as native shell commands.
This tutorial is just the beginning of your journey. Continue expanding your expertise. Why not create PowerShell aliases for sudo and gsudo commands to make them easier to use?
Related:Setting Aliases for Quick Commands and Functions Accessibility