
How to Install Tensorflow with Anaconda on Ubuntu
Have you wished to say goodbye to complicated configurations and endless source code compilation? Why not install TensorFlow with Anaconda on Ubuntu?
In this tutorial, you will install TensorFlow and take advantage of this machine-learning platform.
Read on and supercharge your skills in the world of machine learning with TensorFlow!
Prerequisites
This tutorial houses hands-on demonstrations. Ensure you have the following in place to follow along in this tutorial.
- A system running Ubuntu 16.04 or later – This tutorial uses Ubuntu 20.04 LTS.
Related:How to Install Ubuntu 20.04 [Step-by-Step]
- A user with sudo privileges.
Related:How to Create User on Ubuntu Linux in Multiple Ways
Setting Up a Local Development Environment
TensorFlow is an open-source machine learning platform that offers a flexible ecosystem of tools, libraries, and community resources. But before learning how to install TensorFlow with Anaconda, you must prepare your system with the necessary tools and configurations.
The first step is setting up your local development environment to work with TensorFlow and Anaconda. Doing so ensures you have the software and permissions to install and use TensorFlow effectively.
To set up a local development environment, follow these steps:
1. Open your terminal, and run the below [apt update](https://linuxize.com/post/how-to-use-apt-command/#updating-package-index-apt-update) command to update the system package list.
sudo apt update -yRelated:Learning Ubuntu Apt Get Through Examples
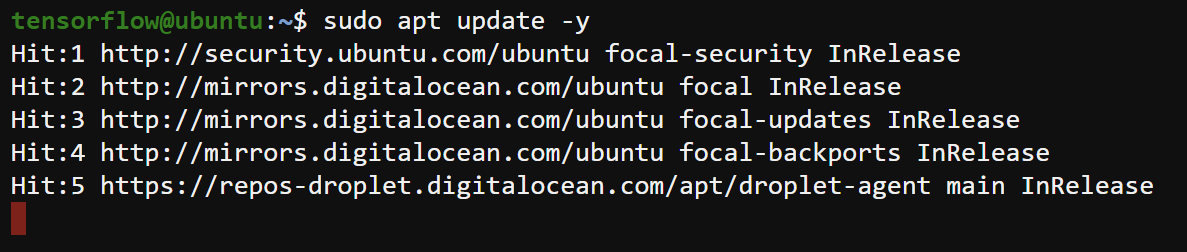
Updating the system package list
2. Once updated, execute the [apt install](https://linuxize.com/post/how-to-use-apt-command/#installing-packages-apt-install) command below to install the necessary Python packages as follows:
python3-dev– Provides the header files and libraries needed for Python development.python3-pip– Provides thepippackage manager for Python 3.
sudo apt install python3-dev python3-pip -y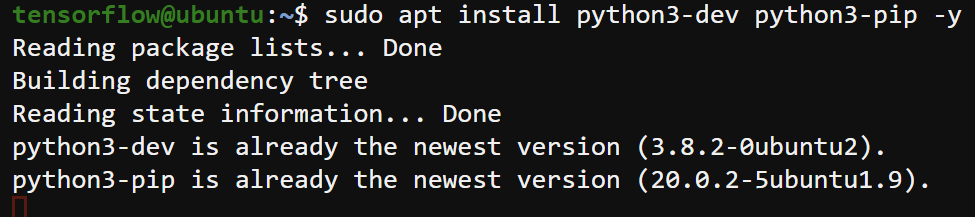
Installing the necessary Python packages
3. Lastly, run the following commands to verify you have installed Python3 and Pip successfully.
python3 -V
pip -V
Verifying installed Python3 and Pip versions
Downloading and Installing Anaconda on Ubuntu
With a local development environment, you can start setting up Anaconda and TensorFlow on your Ubuntu system. Anaconda is a widespread open-source distribution of the Python and R programming languages for data science and machine learning tasks.
Anaconda simplifies managing and deploying various packages, libraries, and so on with its comprehensive package manager called Conda.
To install Anaconda on your Ubuntu system:
1. Open your preferred web browser, navigate to Anaconda’s download page, and copy the URL of the latest version of the Anaconda installer script for your system.
At this time of writing, the latest version is Anaconda3-2023.07-1-Linux-x86_64.sh.
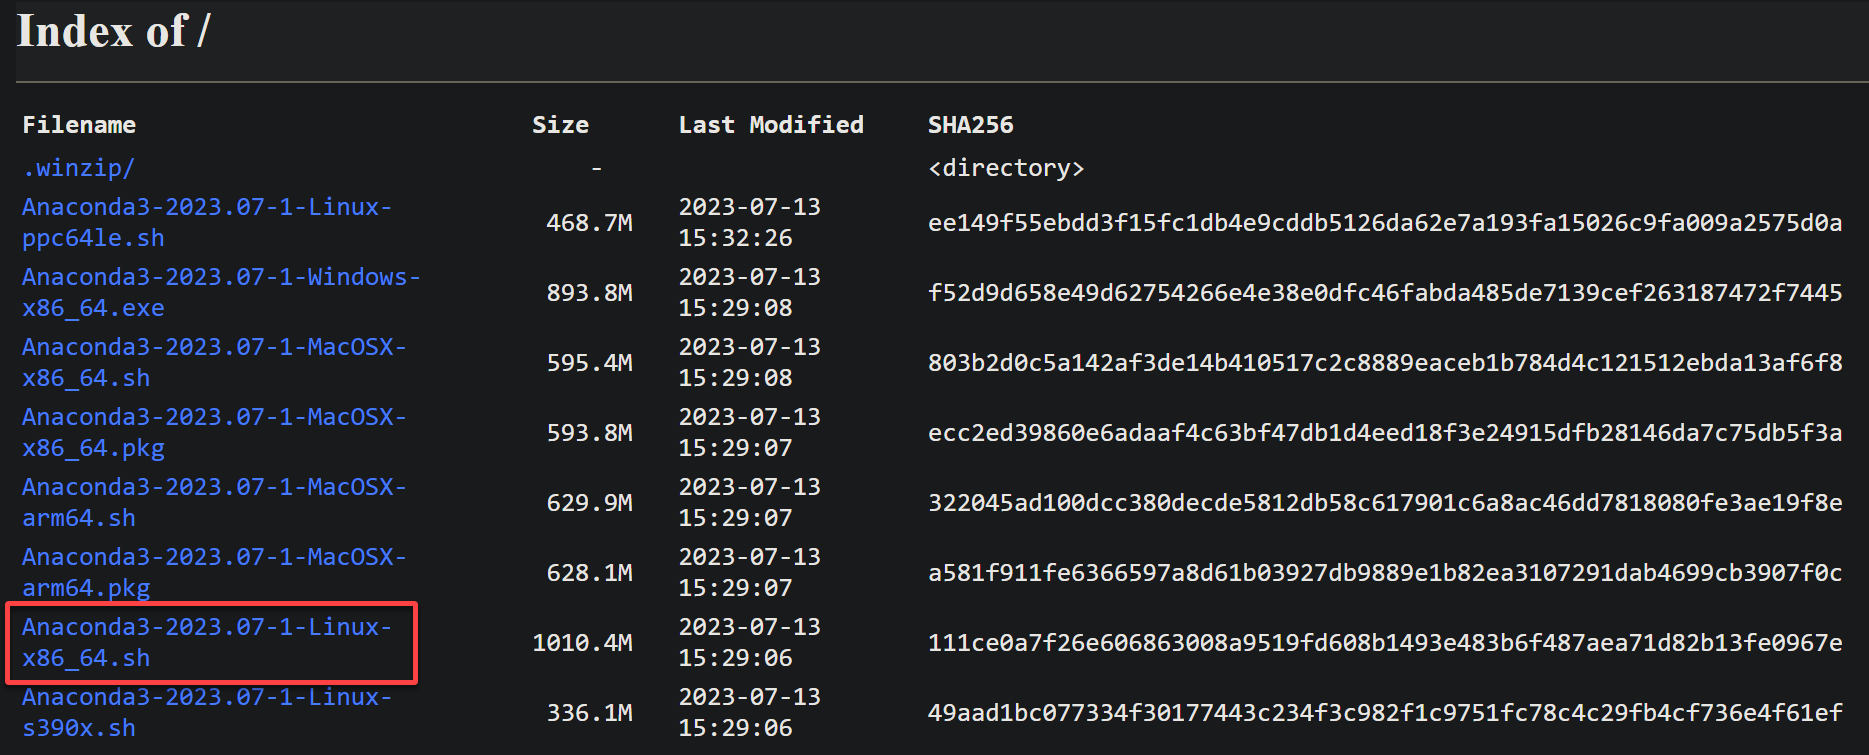
Copying the URL of the latest version of the Anaconda installer
2. Next, switch to your terminal, and run the below wget command to download the installer script and save it in the current directory.
Be sure you replace the URL below with the one you copied in step one.
wget https://repo.anaconda.com/archive/Anaconda3-2023.07-1-Linux-x86_64.shRelated:Install Python Wget and Automate your File Downloads
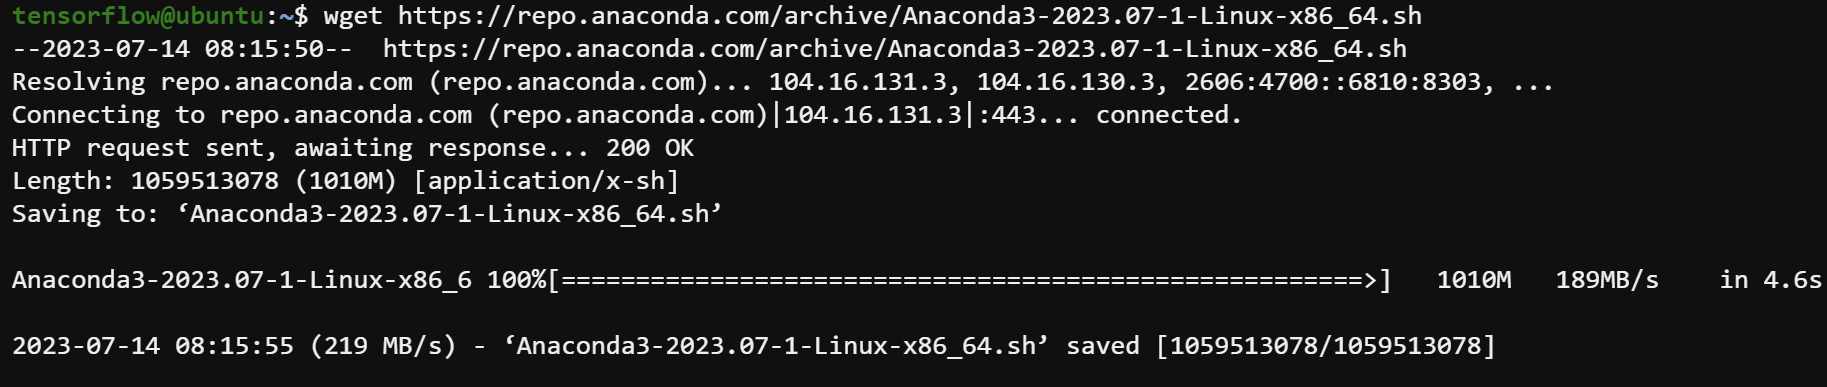
Downloading the Anaconda installer script
3. Once downloaded, execute the following [sha256sum](https://www.computerhope.com/unix/sha256sum.htm) command to view the installer script’s (Anaconda3-2023.07-1-Linux-x86_64.sh) checksum.
sha256sum Anaconda3-2023.07-1-Linux-x86_64.shNote the checksum in the output, as shown below, as you will need it to verify the installer script’s integrity in the following step.

Verifying the installer script file’s integrity
4. Now, compare the checksum you noted in step three with the one on the Anaconda’s download page. If the integrity check fails, you must redownload the installer script.
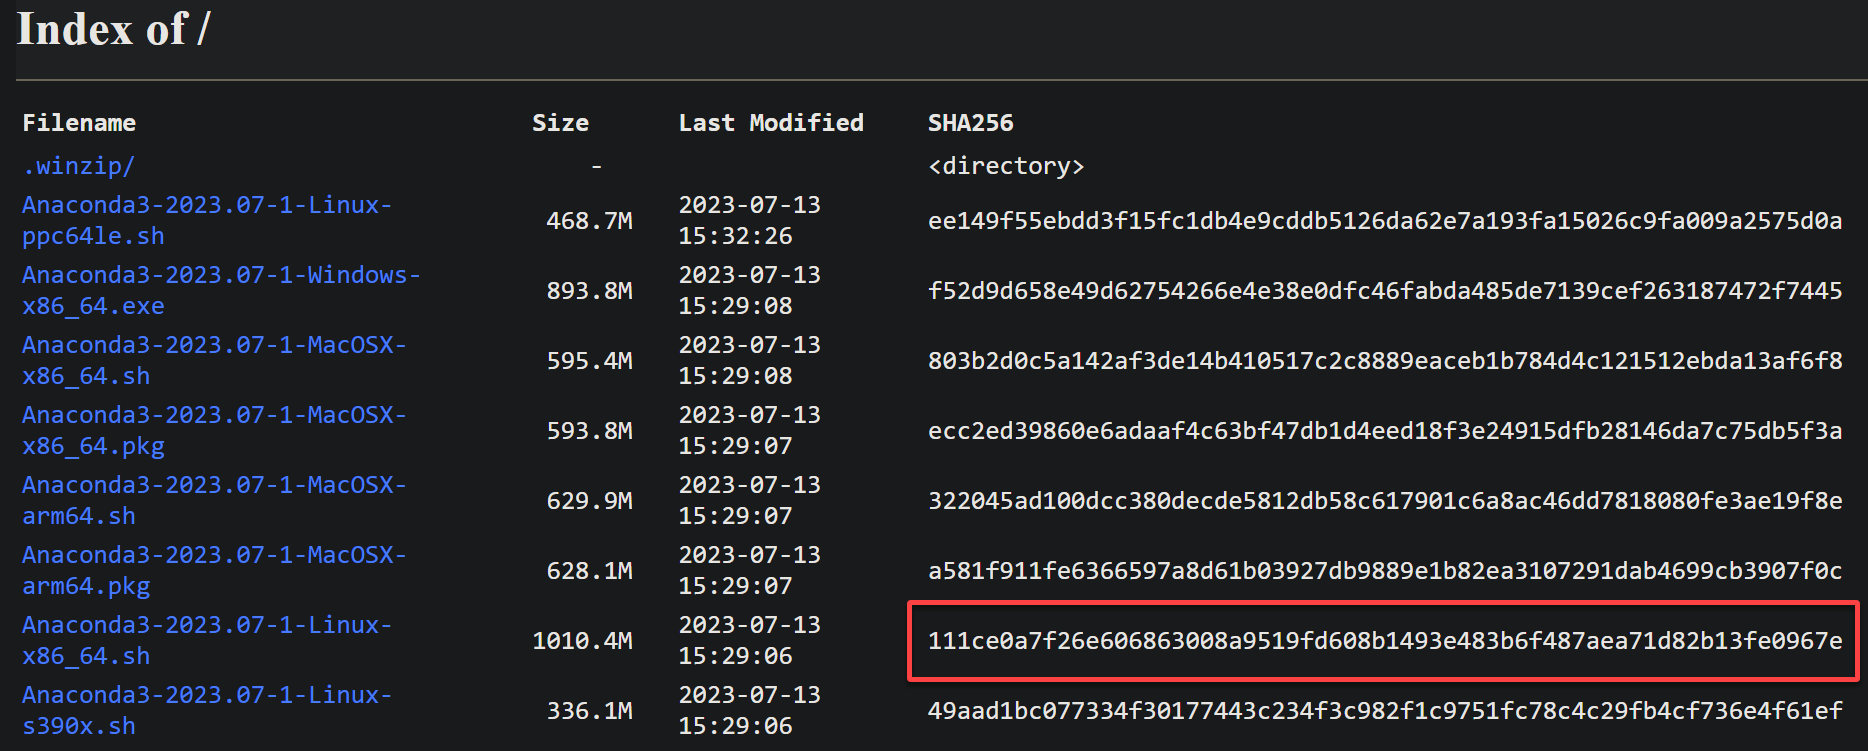
Verifying the integrity of the installer script
5. If the checksums match, execute the below bash command to run the Anaconda installer script (Anaconda3-2023.07-1-Linux-x86_64.sh)
bash ./Anaconda3-2023.07-1-Linux-x86_64.shPress Enter when prompted to continue and read through the terms.
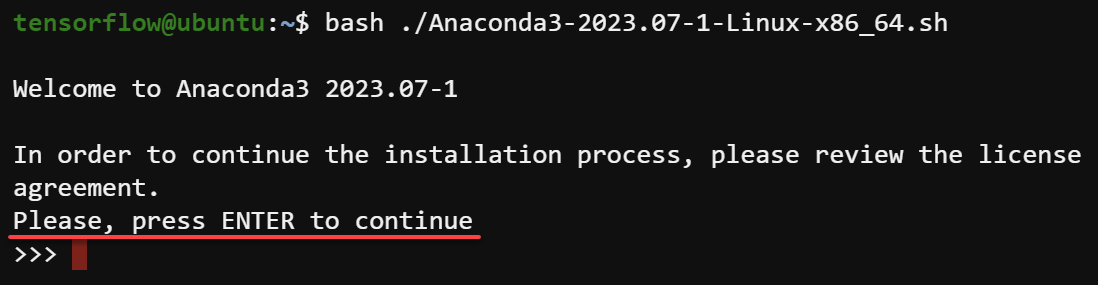
Confirming running the Anaconda installer script
6. Type yes, and press Enter to accept the license terms.
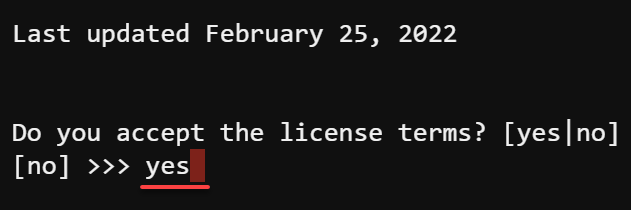
Accepting the license terms
7. Press Enter to accept the default location for Anaconda installation.
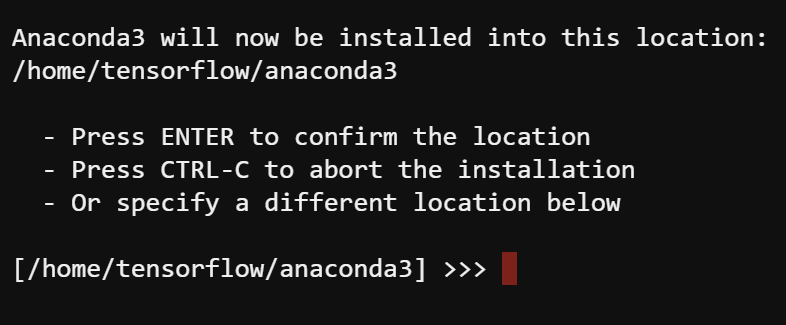
Accepting the default Anaconda installation location
As shown below, the Anaconda installation process begins.
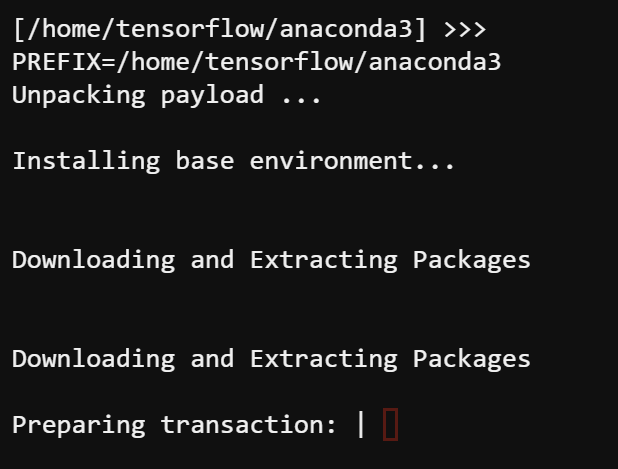
Overviewing the Anaconda installation progress
8. Once installed, input yes and press Enter to initialize Anaconda, which runs the conda init command, as shown below.
The conda init command sets up your shell to enable using Anaconda and the conda command. Initializing Anaconda modifies your shell’s configuration file (such as .bashrc or .bash_profile) to include the necessary settings and environment variables.
Initializing Anaconda eliminates manually setting up the environment variables each time you open a new shell session.
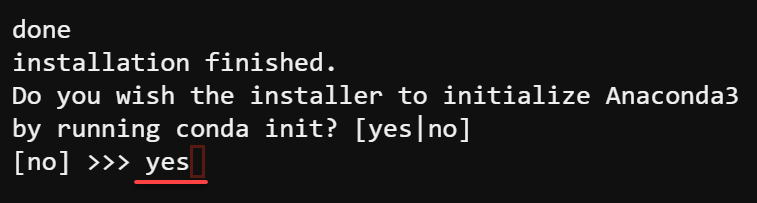
Confirming initializing Anaconda
9. Now, run the below source command to apply the changes. This command enables your shell to access Anaconda and the conda command.
source ~/.bashrcYour shell prompt changes to the one below reflecting the changes, and the base environment will be activated.

Applying the changes
10. Run the conda command below to update Conda to the latest version. Updating conda to the latest version ensures you have the most recent features and bug fixes.
At this point, you have successfully downloaded and installed Anaconda on your Ubuntu system.
conda update --allType y and press Enter when prompted to confirm updating listed packages.
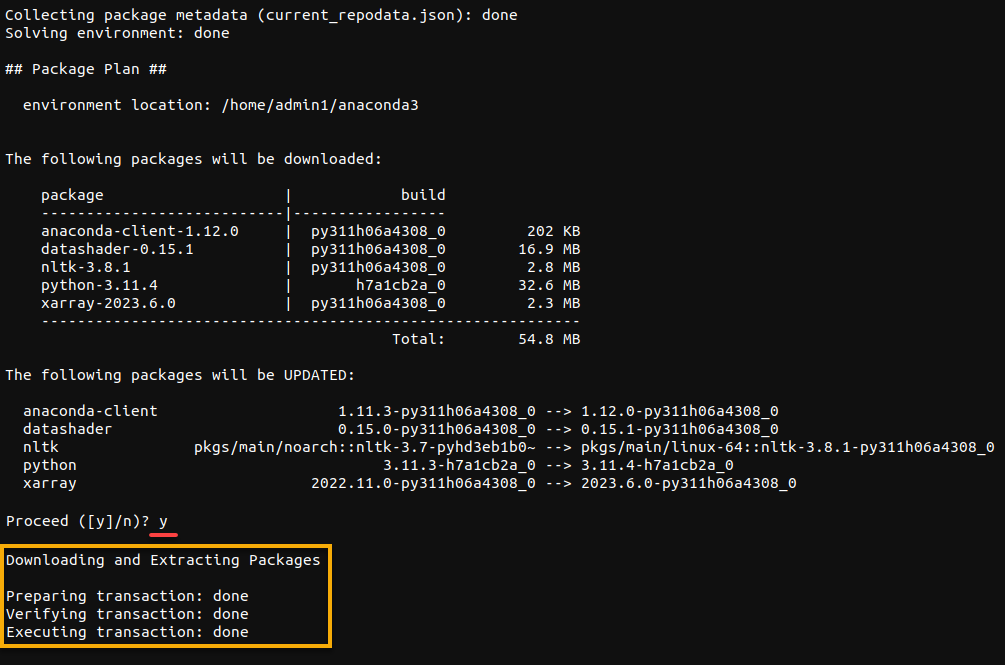
Updating packages
11. Lastly, execute the below command to check the installed version (-v) of conda in your system.
conda -V
Checking the installed Conda version
Creating a Conda Environment to Install TensorFlow with Anaconda
With Anaconda installed, you will need a separate and isolated environment for your TensorFlow projects. Specifically, you will create a Conda environment for TensorFlow and later install TensorFlow.
Anaconda eliminates the need for manual installation of TensorFlow and its dependencies. You can use the comprehensive conda package manager to install TensorFlow with a single command. This capability resolves dependencies and ensures compatibility.
To create a Conda environment for TensorFlow:
1. Run the following command to create a new Conda environment named tensorflow with Python version 3.9.
You can choose any name for your environment and a different Python version.
conda create --name tensorflow python=3.9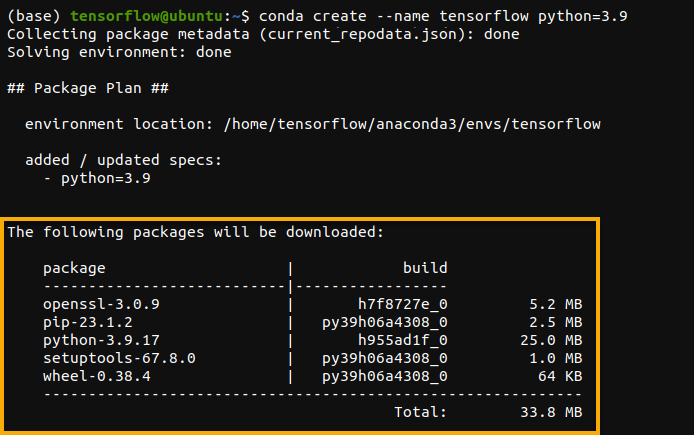
Creating a Conda environment for TensorFlow
2. When prompted, input y and press Enter to confirm installing the new packages listed.
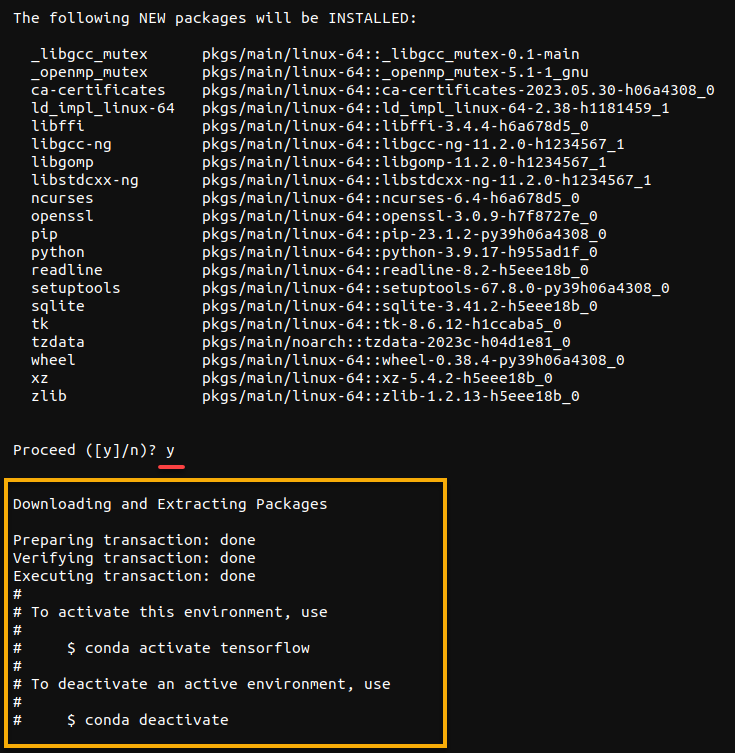
Confirming installing new packages
3. Next, execute the below command to activate the newly created environment (tensorflow).
Any subsequent Python or package installations will be specific to this environment.
conda activate tensorflowAs you can see below, the shell prompt changes to the newly-created environment (tensorflow).

Activating the newly created environment (tensorflow)
4. Run the pip install command below to update pip to the latest version. TensorFlow requires the recent version of pip to install correctly.
pip install --upgrade pip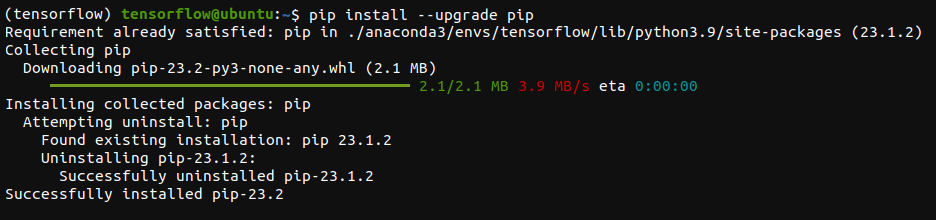
Updating pip to the latest version
5. Now, run the following command to install tensorflow.
pip install tensorflow
Installing TensorFlow
Upgrading TensorFlow
You have just installed TensorFlow, but when it comes to developing TensorFlow applications, keeping all packages up-to-date, including TensorFlow itself, is crucial.
Regular updates ensure access to the latest features, bug fixes, and improvements and help maintain compatibility with other packages and libraries in your environment.
Execute the following pip install command to --upgrade TensorFlow.
pip install --upgrade tensorflowSince you have just installed TensorFlow, you will see messages saying Requirement already satisfied. These messages indicate the packages are already up-to-date.

Upgrading TensorFlow
Verifying the TensorFlow Installation
After installing and upgrading TensorFlow, you must verify if your TensorFlow installation works. There are many ways to test out TensorFlow, but for this tutorial, you will invoke the Python interpreter to execute a script.
Execute the following python command to execute a short Python script. This script utilizes (import) TensorFlow to generate a random matrix of shape (100, 100) with normally distributed values.
python -c "import tensorflow as tf; print(tf.random.normal([100,100]))"As a result, you will see the randomly generated matrix printed in the console similar to the one below.
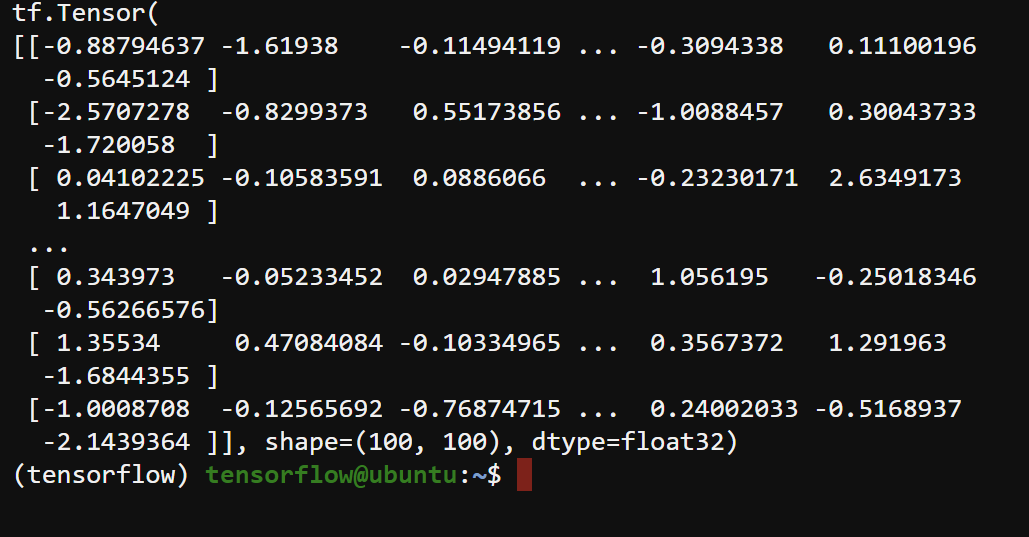
Verifying the TensorFlow installation
Conclusion
Throughout this tutorial, you have learned to install TensorFlow with Anaconda on your Ubuntu system. At this point, building and deploying machine learning models becomes a quick process with TensorFlow.
Now, why not consider installing Jupyter Notebook, which works seamlessly with TensorFlow? This computing platform provides an interactive data analysis, experimentation, and collaborative coding environment.
Start creating and sharing notebooks containing code, visualizations, and explanatory text!
Related:Easily Install Jupyter Notebook on Ubuntu (Step by Step)