How to Install PostgreSQL on Mac
PostgreSQL is a powerful and open-source object-relational database management system with a strong reputation for reliability, feature robustness, and performance. But how do you install PostgreSQL on your Mac?
Setting up PostgreSQL on Mac can be intimidating for those new to the platform. Not to worry, though. This tutorial will provide a comprehensive overview of the installation process, covering all you need to get started with PostgreSQL on your Mac.
Read on and take your first steps into the world of PostgreSQL!
Prerequisites
Before diving into the installation process, ensure you have a macOS (OS X) version 10.6 or newer.
Installing PostgreSQL on Mac Using the DMG Package Installer
Out of all the ways to install PostgreSQL on Mac, the easiest way is using the DMG package installer. Where to get it? The PostgreSQL developer provides an official DMG package containing the necessary files and resources to install PostgreSQL.
To install PostgreSQL on Mac using a DMG package installer
1. Open your favorite web browser, and navigate to the PostgreSQL download website.
2. Next, click the download icon under the Mac OS X column next to the version you wish to install. This tutorial goes with 15.1, the latest version available at this time of writing.
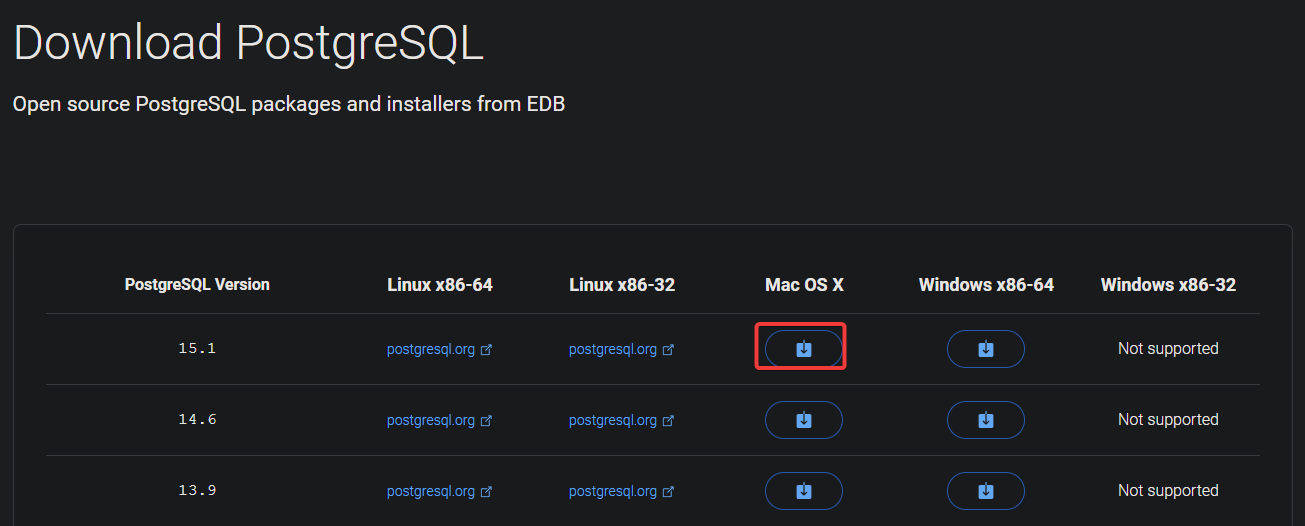
Downloading the PostgreSQL DMG package installer for Mac
3. Once the download completes, double-click the DMG file to open it. Doing so mounts the DMG package, and a window appears with the PostgreSQL.pkg file.
Double-click the PostgreSQL.pkg file to start the installation process.
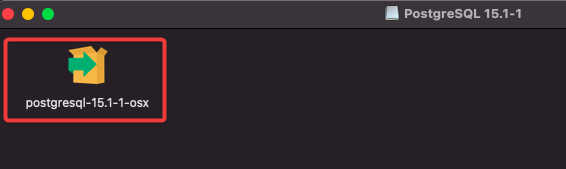
Opening the PostgreSQL.pkg file to install PostgreSQL on Mac
4. Now, click Open on the pop-up window to confirm the installation. This prompt is a security measure implemented by macOS to protect your computer from potentially malicious software.
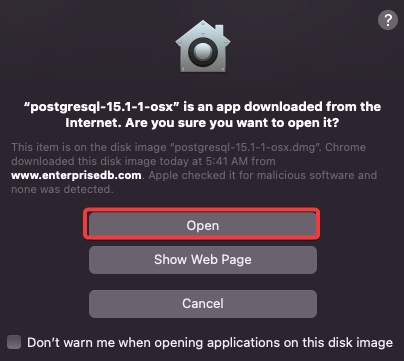
Confirming the installation
5. Enter the password for your administrator account when prompted, and click OK to authorize PostgreSQL to make changes.
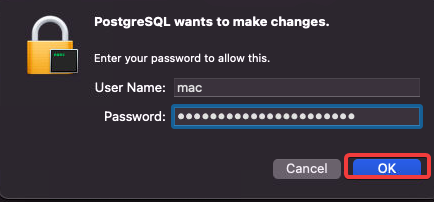
Authorizing PostgreSQL to make changes
6. Click Next when the PostgreSQL Setup Wizard appears to continue with the installation.
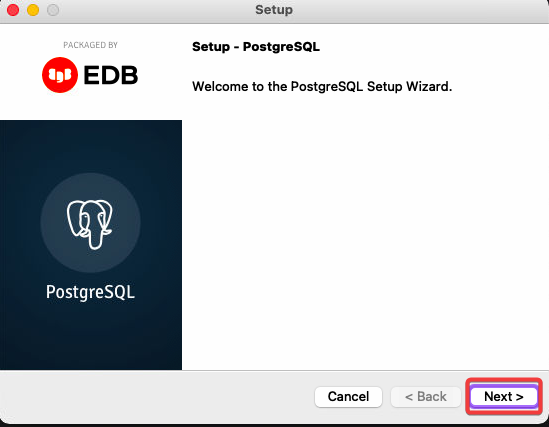
Continuing with the installation
7. On the next screen, select the installation directory and click Next.
Leaving the default installation directory is most recommended unless you have a specific reason to change it.
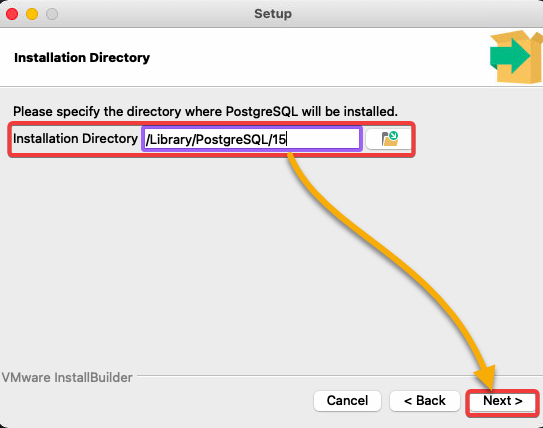
Selecting an installation directory
8. Next, select all of the available components to ensure you have the full functionality of PostgreSQL, and click Next. Below are the components available for PostgreSQL:
-
PostgreSQL Server – The PostgreSQL server itself.
-
pgAdmin 4 – Allows you to manage your PostgreSQL databases and work with SQL via GUI.
Related:Installing the PGAdmin Ubuntu (PostgreSQL Dashboard)
-
Stack Builder – Allows you to manage and install additional components.
-
Command Line Tools – Allows you to access PostgreSQL via the terminal.
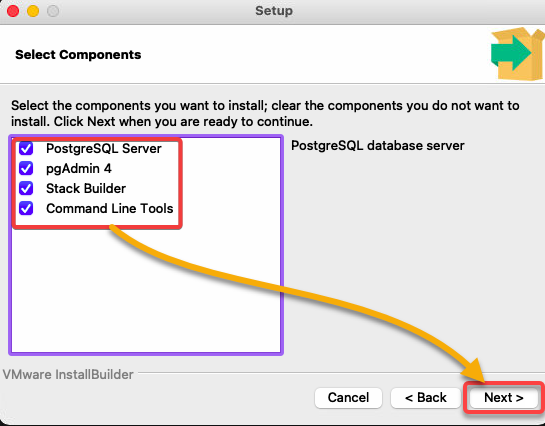
Selecting components to install
9. Once installed, select a directory where PostgreSQL will store its data, and click Next.
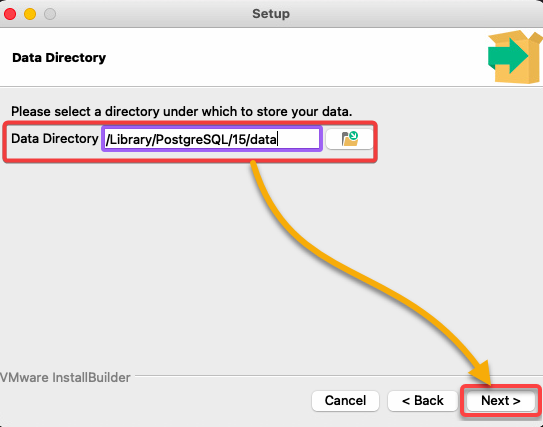
Selecting the data directory
10. Provide a secure password for the superuser (postgres) account and click Next.
Related:Stop the Confusion: Keep End Users Secure with Strong Passwords
The postgres superuser has full access to all databases on the system, so ensure you choose a strong and unique password.
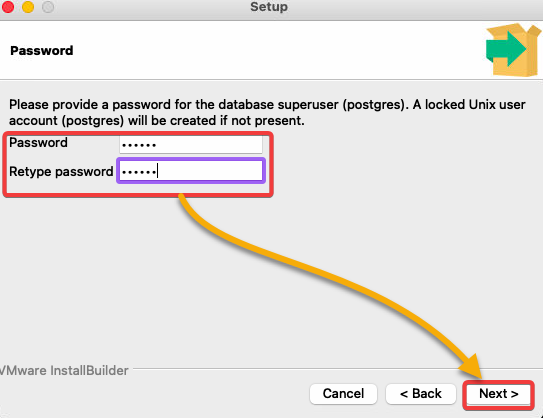
Provide a secure password
11. Now, select a port for the PostgreSQL server and click Next.
The default port is 5432, but you can choose a different one. Keep in mind, though, that some port numbers are reserved for specific services.
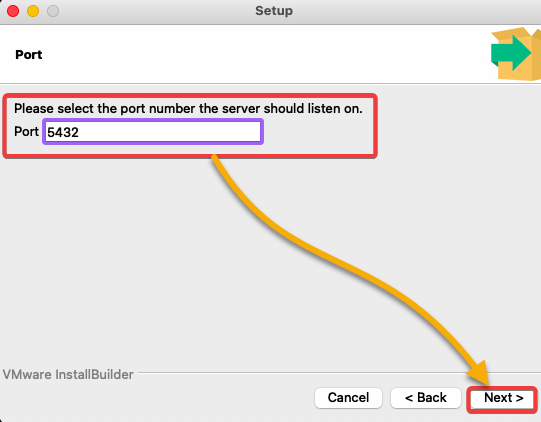
Selecting a port for the PostgreSQL server
12. Keep the Default locale selected, and click Next to continue.
A locale is a set of regional and language-specific settings that determine how text and other data are displayed and stored in the database.
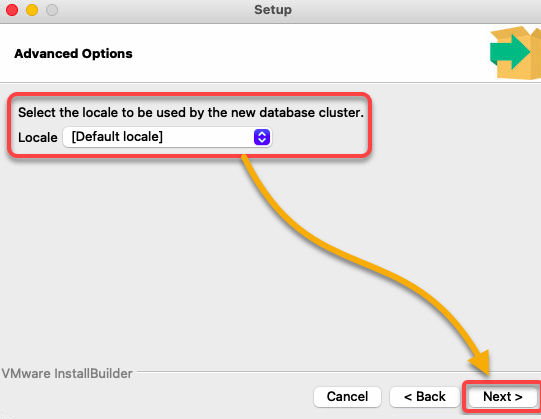
Selecting the default locale
13. Review your selected settings and click Back to change any or Next to continue.
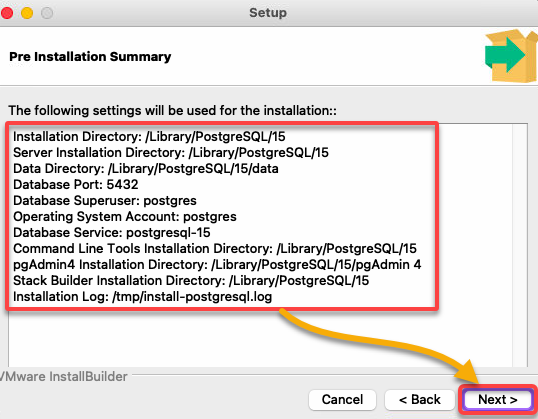
Reviewing the selected settings for the PostgreSQL installation
14. Once reviewed, click Next to carry on with the installation.
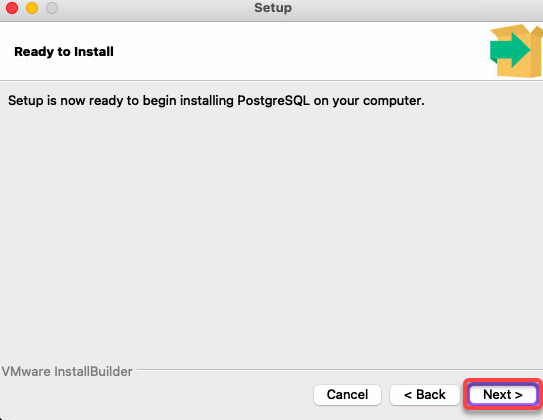
Finalizing the installation
Wait for the installation to complete. The installation starts, and the progress bar displays, as shown below.
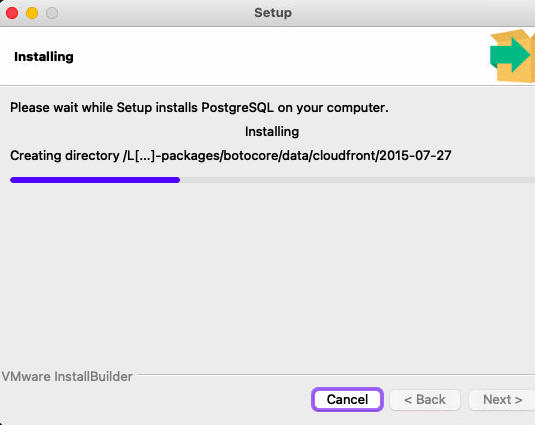
Viewing the installation progress
15. Once the installation is complete, click Finish to close the wizard.
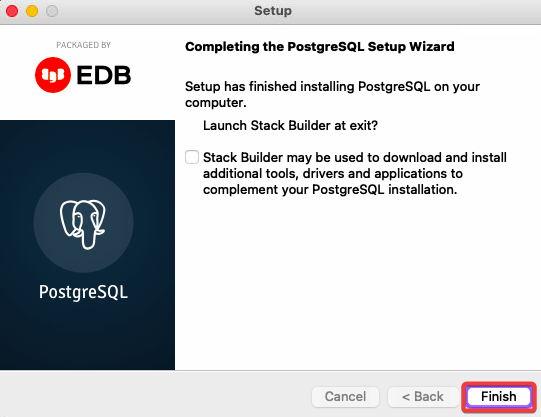
Closing the setup wizard
16. Lastly, search for and launch pgAdmin to explore the new PostgreSQL installation from the Launchpad.
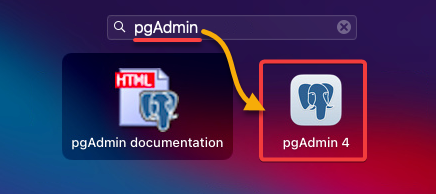
Launching the pgAdmin GUI
Install PostgreSQL via CLI
Even though installing PostgreSQL using the DMG package installer looks easy enough, clicking your way through the setup wizard can be tedious. Is there a quicker way? Yes!
You can install PostgreSQL on Mac via CLI with a few Homebrew commands. Homebrew is a package manager for macOS that allows you to install and manage various software packages from the terminal.
Related:How to Install Homebrew on macOS
To install PostgreSQL via CLI, follow these steps:
1. Open your terminal, and run the following brew command to update Homebrew’s package list. brew update
brew update
Updating Homebrew’s package list
2. Next, run the command below to install postgresql. brew install postgresql
brew install postgresqlAlternatively, run the below command to install a specific version of PostgreSQL. Replace VERSION with your preferred version of PostgreSQL to install. But this example installs version 11 of PostgreSQL.
💡 Homebrew lets you install and switch between different versions of PostgreSQL. You also have total control over starting, stopping, and restarting your PostgreSQL server.
brew install PostgreSQL@VERSIONAt this point, your PostgreSQL server will be installed on your Mac
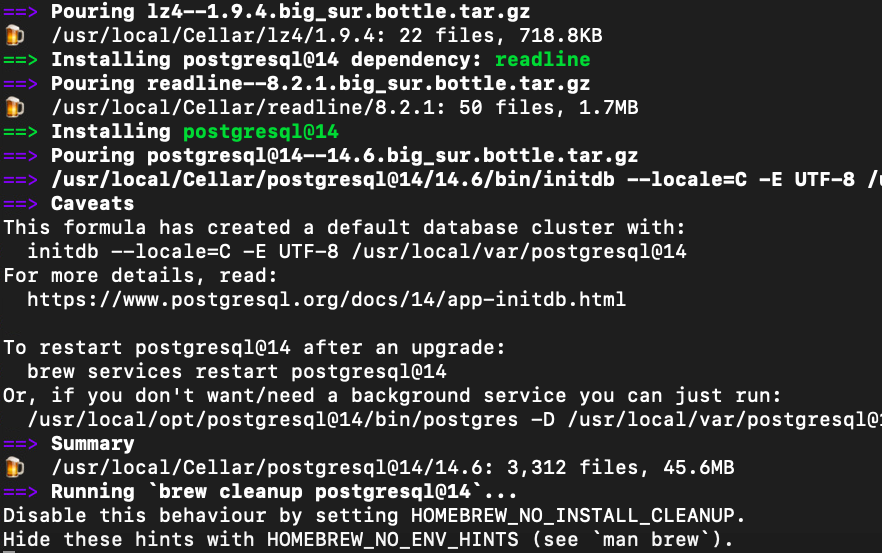
Install PostgreSQL on Mac via CLI
3. Now, run the following brew services command to start the server (postgresql).
brew services start postgresql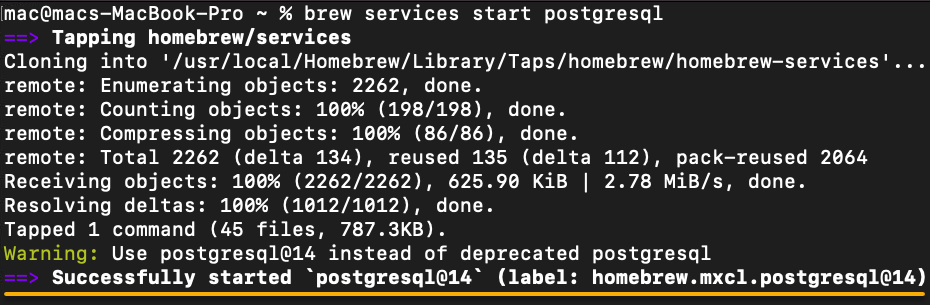
Starting the PostgreSQL server
But when you are not using the PostgreSQL server, run the below command to stop the server and save system resources. brew services stop postgresql
brew services stop postgresql
Stopping the PostgreSQL server
Creating a Database on PostgreSQL
With your PostgreSQL server running, it is time to create a database to test your setup. But first, you need to log in to the Postgres shell.
1. Run the following psql command to log in to the Postgres shell.
psql postgresYour prompt changes to postgres=#, as shown below, which indicates you are logged in as the superuser.
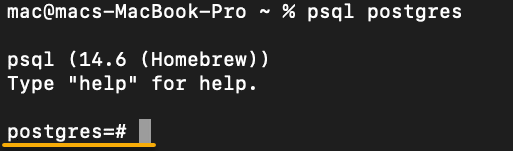
Logging in to the Postgres shell
2. Next, run the below query to CREATE a DATABASE in your PostgreSQL instance. You can name the database differently, but this tutorial uses my_database.
CREATE DATABASE my_database;
Creating a database
3. Once created, run the below command to \\list all databases on the system. \\list
\listAs shown below, you can verify your newly-created database.
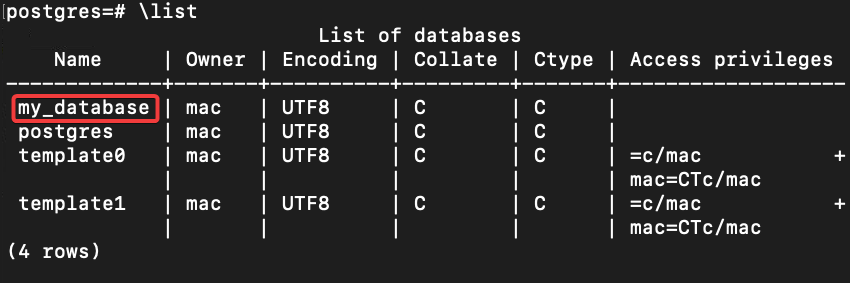
Listing all available databases on the system
4. Now, run the following command to \connect to your new database (my_database).
\connect my_databaseIf successful, your prompt changes to my_database=#, which indicates you are connected to your database.

Connecting to the new database
5. Lastly, run either of the following commands to exit the PostgreSQL shell.
If you are connected to a database when you exit the PostgreSQL shell, you will be disconnected from that database. Any changes you have made to the database will be saved.
-- Exit the PostgreSQL shell
\q
-- Exit the PostgreSQL shell
-- Closes the terminal window and terminates any running processes in the terminal.
exit
Exiting the PostgreSQL shell
Conclusion
Databases are compelling and essential to running modern applications, and PostgreSQL is one of the most powerful database management systems available. And in this tutorial, you have learned how to install PostgreSQL on your Mac via GUI and CLI (Homebrew).
You have already created a database using the Postgres shell. So with a bit of practice, you will get to start creating databases and working with data in no time.
Why not develop your skills further? Perhaps try loading the PostgreSQL sample database and play around with it.